PriMaS Secure Print User Operation Guide
Once the user and the device has been registered with the Windows Service the phone application is ready for use. Please see the Installation Guide on how to set up your user name and PIN number if you have not already done so.
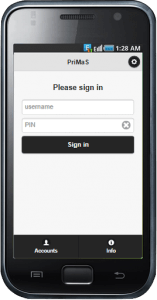
To begin using the secure print application to release pending print jobs, sign-in by entering your username and PIN.
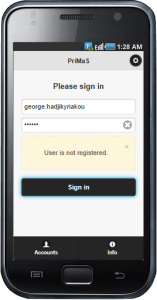
If the username and/or the PIN value is entered wrong, a “User is not registered” message will be returned. If the user has been previously successfully registered from the same device in which the sign-in attempt is being made, then simply try again.
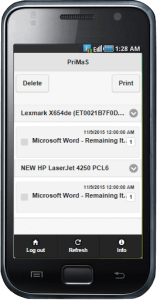
When successfully signed in, the screen refreshes to display all pending print jobs sent by the user signed in, and they are listed by destination printer.
Selecting the circular icon ![]() to the right of each printer listed will contract the list to hide individual print jobs under the printer heading.
to the right of each printer listed will contract the list to hide individual print jobs under the printer heading.
If the names of the print job files are too long and getting cut-off, simply rotate the phone to use the wider display.
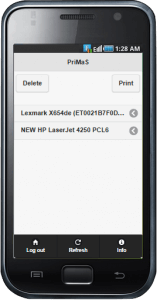
Selecting the circular icon ![]() to the right of each printer listed will expand the list to show individual print jobs under the printer heading.
to the right of each printer listed will expand the list to show individual print jobs under the printer heading.
For security reasons, a configurable parameter can be set to log-off the user after a short time of no activity.
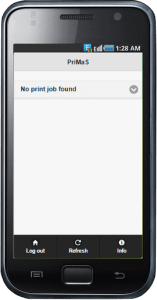
If the user has no secure print jobs pending, the application will indicate this in the display, as illustrated here.
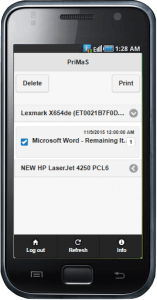
To select an individual print job to release listed under a destination printer heading, simply expand the list if it contracted, identify the print job, check the box to its left, and select the “Print” button.
The selection can be done for multiple print jobs at once as long they are all listed under the same destination printer heading. Selection of print jobs to be released can only be made under a single destination printer at a time. Selection of print jobs under a different destination printer must be done on a subsequent request.
The user will not be allowed to make simultaneous cross-printer heading print job selections to release. The reason for this is that the application requires the user be physically present at the printer while the printing of the jobs occurs.
The “Refresh” button can be selected to force a refresh of the screen displaying the pending print jobs queue.
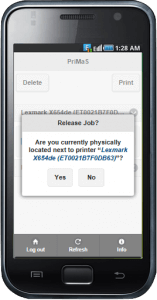
Selecting the “Print” button will result in a pop-up confirmation prompt request to appear, where the user must indicate if physically present next to the destination printer of the selected secure print jobs.
Only after a YES is selected, in the confirmation user prompt, will the selected print jobs be released and print at their destination printer. A selection of NO will return the user to the selection screen.
Once the print jobs have printed, the screen will refresh and the printed jobs will no longer appear in the queue of pending print jobs.
Please Contact Us if you have additional questions.
